

Replacing a clutch is one of the more challenging DIY auto repairs, but with the right tools, knowledge, and a bit of patience, it’s entirely possible for a dedicated car enthusiast to handle. A smoothly functioning clutch is crucial for the performance of a manual transmission vehicle, and replacing it yourself can save a considerable amount of money. This guide will walk you through the essential steps and provide tips to ensure a successful clutch replacement.
Understanding the Clutch System
Before diving into the replacement process, it’s important to understand the basic components of the clutch system. The clutch is a mechanical device located between the engine and the transmission. Its primary function is to engage and disengage the engine from the wheels, allowing you to change gears smoothly. The main components of the clutch system include:
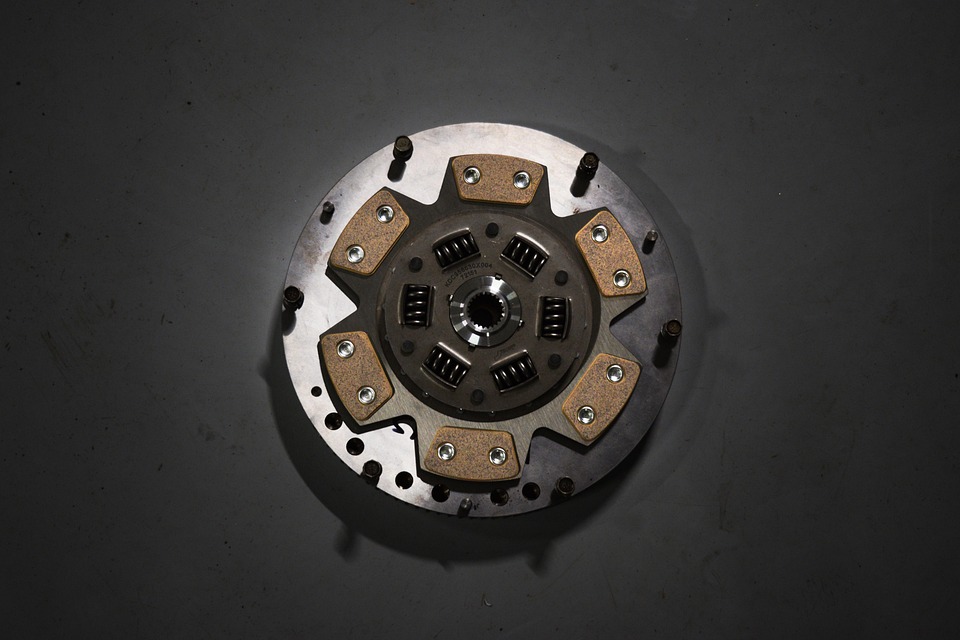
Clutch Disc
The clutch disc is a friction plate located between the flywheel and the pressure plate. It is responsible for transmitting torque from the engine to the transmission.
Pressure Plate
The pressure plate applies pressure to the clutch disc, enabling the transmission of power from the engine to the drivetrain.
Flywheel
The flywheel is attached to the engine crankshaft and provides a friction surface for the clutch disc.
Throwout Bearing
Also known as the release bearing, this component helps disengage the clutch when the pedal is pressed.
Clutch Fork
The clutch fork acts as a lever to move the throwout bearing against the pressure plate.
Signs You Need a Clutch Replacement
Recognizing the signs of a failing clutch can prevent further damage to your vehicle. Common symptoms include:
- Difficulty in changing gears
- Slipping clutch, where the engine revs up but the vehicle speed doesn’t increase accordingly
- Spongy, sticking, or vibrating clutch pedal
- Burning smell while driving
- Unusual noises when pressing the clutch pedal
Tools and Materials Needed
To successfully replace a clutch, you will need the following tools and materials:
- Socket set and wrenches
- Screwdrivers
- Torque wrench
- Clutch alignment tool
- Transmission jack or floor jack with jack stands
- Clutch kit (includes clutch disc, pressure plate, throwout bearing, and pilot bearing)
- Flywheel (if needed)
- Brake cleaner
- Shop towels
- Safety glasses and gloves
Step-by-Step Clutch Replacement Process
1. Safety First
Ensure the vehicle is on a level surface and the parking brake is engaged. Disconnect the battery to prevent any electrical issues during the repair.
2. Remove the Transmission
- Lift the vehicle using a jack and secure it with jack stands.
- Remove the driveshaft or CV axles, depending on your vehicle.
- Detach any components that connect the transmission to the engine, such as wiring harnesses, speedometer cables, and shift linkage.
- Support the transmission with a transmission jack.
- Remove the bolts securing the transmission to the engine and carefully slide it away from the engine.
3. Remove the Old Clutch
- Inspect the flywheel for any damage or wear. If necessary, replace or resurface the flywheel.
- Remove the pressure plate bolts gradually, in a star pattern, to release the tension evenly.
- Take out the old clutch disc and pressure plate.
- Inspect the pilot bearing and replace it if necessary.
4. Install the New Clutch
- Clean the flywheel and pressure plate surfaces with brake cleaner to remove any grease or debris.
- Use the clutch alignment tool to position the new clutch disc on the flywheel.
- Attach the new pressure plate over the clutch disc and hand-tighten the bolts in a star pattern.
- Use a torque wrench to tighten the pressure plate bolts to the manufacturer’s specifications.
- Install the new throwout bearing on the clutch fork.
5. Reinstall the Transmission
- Ensure the transmission input shaft aligns with the clutch disc splines.
- Carefully slide the transmission back into place and secure it to the engine with bolts.
- Reattach the driveshaft or CV axles, wiring harnesses, and shift linkage.
- Reconnect the battery.
Testing the New Clutch
After reassembling everything, start the vehicle and test the new clutch by:
- Checking if the pedal feels firm and responsive.
- Ensuring the gears engage smoothly without any grinding or resistance.
- Listening for any unusual noises that could indicate improper installation.
- Taking the vehicle for a short drive to ensure everything functions correctly.
Tips for a Successful Clutch Replacement
- Take your time: Rushing through the process can lead to mistakes. Carefully follow each step and double-check your work.
- Consult your vehicle’s repair manual: Specific procedures can vary between different makes and models, so having a repair manual handy is invaluable.
- Inspect other components: While the transmission is removed, inspect the rear main seal and any other components for wear or damage.
- Consider help: Some steps, like removing or reinstalling the transmission, can be difficult to do alone. Having an extra set of hands can make the process smoother.
Conclusion
Replacing a clutch is a challenging but rewarding DIY project that can enhance your mechanical skills and save money. By understanding the clutch system, preparing with the right tools, and following a detailed step-by-step process, you can successfully replace your vehicle’s clutch. Remember to prioritize safety and consult your vehicle’s repair manual for specific guidance related to your car model. With patience and attention to detail, you’ll have your vehicle running smoothly with a brand-new clutch.
#ChatGPT assisted in the creation of this article.