

Replacing wheel bearings is a crucial maintenance task that ensures the optimal performance and safety of your vehicle. Worn-out wheel bearings can lead to poor handling, uneven tire wear, and, in extreme cases, wheel failure. This guide will equip you with the knowledge and confidence needed to replace wheel bearings on your own, saving you time and money.
Understanding Wheel Bearings
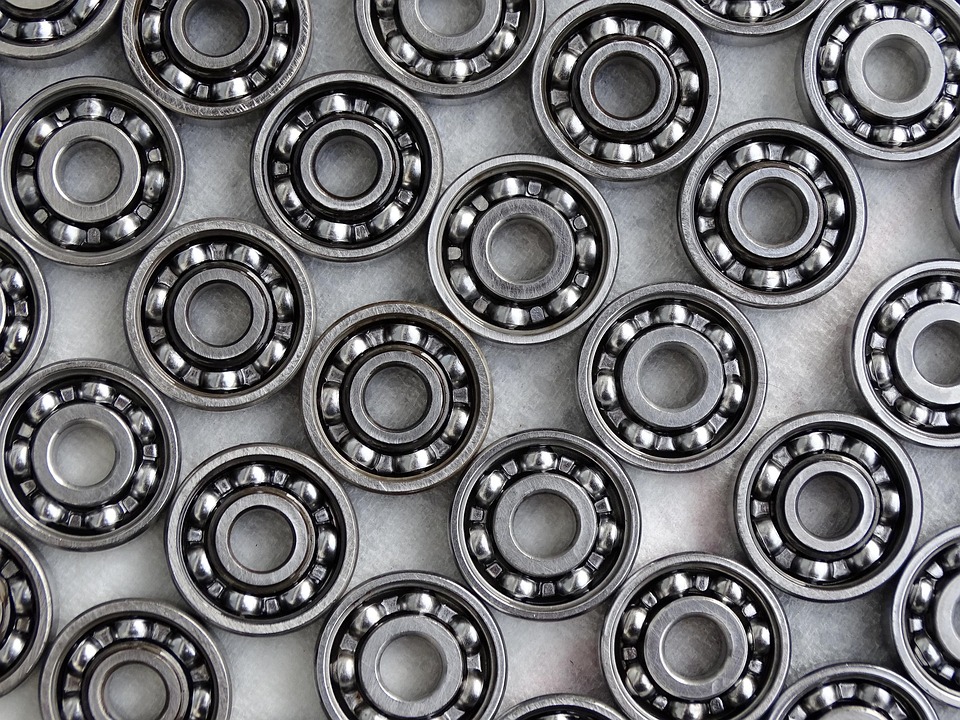
Wheel bearings are essential components that allow wheels to rotate smoothly with minimal friction. They are located inside the wheel hub and are composed of steel balls or rollers and a metal ring. Over time, these components can wear out due to heat and stress, necessitating replacement.
Signs of a Failing Wheel Bearing
Before diving into the replacement process, it’s important to recognize the signs of a failing wheel bearing:
- Noise: A grinding or humming noise coming from the wheels, especially when turning, is a common indicator.
- Vibration: Excessive vibration or wobbling of the steering wheel can suggest a worn-out bearing.
- Uneven Tire Wear: Bearings in poor condition can cause uneven tread wear on your tires.
- ABS Malfunction: Some vehicles may experience ABS (Anti-lock Braking System) issues due to faulty wheel bearings.
Tools and Materials Needed
Before you start, gather the following tools and materials to ensure a smooth and efficient replacement process:
- Jack and Jack Stands
- Lug Wrench
- Socket Set
- Torque Wrench
- Hammer
- Chisel
- Bearing Puller or Slide Hammer
- New Wheel Bearings
- Grease
- Safety Equipment (gloves, goggles)
Step-by-Step Wheel Bearing Replacement
Step 1: Safety First
Begin by ensuring the vehicle is parked on a level surface. Engage the parking brake and use wheel chocks to prevent any accidental movement. Wear safety gloves and goggles to protect yourself during the process.
Step 2: Lifting the Vehicle
Use a jack to lift the vehicle and secure it with jack stands for added stability. Double-check that the vehicle is stable before proceeding.
Step 3: Remove the Wheel
Use a lug wrench to loosen and remove the lug nuts. Carefully take off the wheel to access the wheel hub assembly.
Step 4: Remove the Brake Caliper and Rotor
Detach the brake caliper by removing the bolts holding it in place. Use a piece of wire or bungee cord to hang the caliper securely without putting stress on the brake line. Next, remove the brake rotor to expose the wheel hub.
Step 5: Detach the Wheel Hub
The wheel hub is secured with bolts or a retaining nut, depending on your vehicle model. Use a socket set to remove these fasteners. If the hub is difficult to remove, a bearing puller or slide hammer will help dislodge it.
Step 6: Remove the Old Wheel Bearing
Once the hub is removed, access the wheel bearing. Use a hammer and chisel to carefully tap out the old bearing. Be cautious not to damage the hub during this process.
Step 7: Install the New Wheel Bearing
Clean the hub thoroughly to remove any debris or old grease. Apply a thin layer of fresh grease to the new bearing and position it in the hub. Use a socket that matches the size of the bearing’s outer ring to tap it into place gently.
Step 8: Reassemble the Wheel Hub
Reattach the wheel hub to the axle and secure it with bolts or the retaining nut. Ensure that everything is tightened to the manufacturer’s specifications using a torque wrench.
Step 9: Reinstall the Brake Components
Place the brake rotor back onto the hub and reattach the brake caliper. Ensure that the caliper is secured with the correct torque settings.
Step 10: Mount the Wheel
Position the wheel onto the hub and hand-tighten the lug nuts. Lower the vehicle to the ground and use a torque wrench to tighten the lug nuts in a star pattern to ensure even distribution of pressure.
Post-Replacement Checks
After replacing the wheel bearing, perform the following checks to ensure everything is in proper working order:
- Test Drive: Take your vehicle for a short test drive to listen for any unusual noises or vibrations.
- Torque Check: After a few miles of driving, recheck the torque of the lug nuts to ensure they remain tight.
- Brake Performance: Pay attention to your brakes to ensure they are functioning correctly and without any pulsing or grinding.
Maintenance Tips for Wheel Bearings
To extend the life of your wheel bearings and ensure smooth operation, consider the following maintenance tips:
- Regular Inspections: Periodically inspect your wheel bearings for signs of wear or damage.
- Proper Lubrication: Ensure that bearings are adequately lubricated to reduce friction and prevent overheating.
- Avoid Overloading: Avoid overloading your vehicle, as excess weight can accelerate bearing wear.
- Mind Driving Conditions: Be cautious when driving through water or rough terrains, as these conditions can impact bearing longevity.
Conclusion
Replacing wheel bearings may seem daunting, but with the right tools, preparation, and guidance, it is a manageable DIY task. By following this expert guide, you can ensure the safe and effective replacement of wheel bearings, enhancing your vehicle’s performance and safety. Regular maintenance and attention to your vehicle’s wheel bearings will ensure a smoother and more enjoyable driving experience for years to come.
#ChatGPT assisted in the creation of this article.
